Hey there! As a supplier of Auto Welding Jigs, I've dealt with all sorts of questions about how to adjust these nifty tools. Today, I'm gonna share some tips and tricks on how to adjust an auto welding jig, so let's dive right in!
Why Adjusting an Auto Welding Jig is Crucial
First off, why do we even need to adjust an auto welding jig? Well, a well - adjusted jig ensures precise and consistent welds. If the jig isn't set up correctly, you might end up with welds that are off - center, have inconsistent bead widths, or just don't meet the quality standards you're aiming for. In the automotive industry, where precision is key, a properly adjusted welding jig can make or break a production line.
Step 1: Inspect the Jig
Before you start making any adjustments, you need to give the jig a thorough inspection. Look for any signs of wear and tear, like loose bolts, damaged clamps, or bent parts. If you find any issues, it's best to fix them before proceeding with the adjustment. A damaged jig won't hold the parts in place accurately, no matter how well you adjust it.
Step 2: Set the Base
The base of the auto welding jig is like the foundation of a house. It needs to be level and stable. Use a spirit level to check if the base is horizontal. If it's not, you can adjust the feet of the jig to level it out. Make sure the base is firmly secured to the workbench or the floor. A wobbly base will cause the parts to move during welding, leading to poor - quality welds.
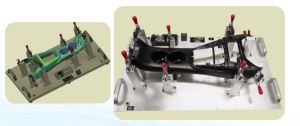
Step 3: Position the Clamps
Clamps are one of the most important components of an auto welding jig. They hold the parts in place during the welding process. Start by positioning the clamps according to the size and shape of the parts you're welding. You want the clamps to apply even pressure on the parts without distorting them.
If you're working with irregularly shaped parts, you might need to use adjustable clamps. These clamps can be moved and tightened to fit the contours of the parts. Make sure the clamps are tightened enough to hold the parts securely but not so tight that they damage the parts.
Step 4: Align the Welding Points
Once the parts are clamped in place, it's time to align the welding points. This is where the precision comes in. Use measuring tools like calipers or rulers to ensure that the parts are aligned correctly. You can also use alignment pins or guides that come with the jig.
For more complex welding jobs, you might need to use a laser alignment system. This system projects a laser beam onto the parts, making it easier to see if they're aligned. Aligning the welding points accurately will result in clean and strong welds.
Step 5: Check for Clearance
Before you start welding, check for clearance around the welding area. Make sure there's enough space for the welding torch to move freely without hitting the clamps or other parts of the jig. You also need to ensure that there's proper ventilation in the area to remove the welding fumes.
Step 6: Make Fine - Tuning Adjustments
After you've completed the initial adjustments, it's a good idea to do a test run. Weld a small section of the parts and check the quality of the weld. If you notice any issues, like misaligned welds or uneven bead widths, make fine - tuning adjustments to the jig.
You might need to adjust the position of the clamps slightly or realign the welding points. Keep making these small adjustments until you're satisfied with the quality of the welds.
Special Considerations for Different Types of Jigs
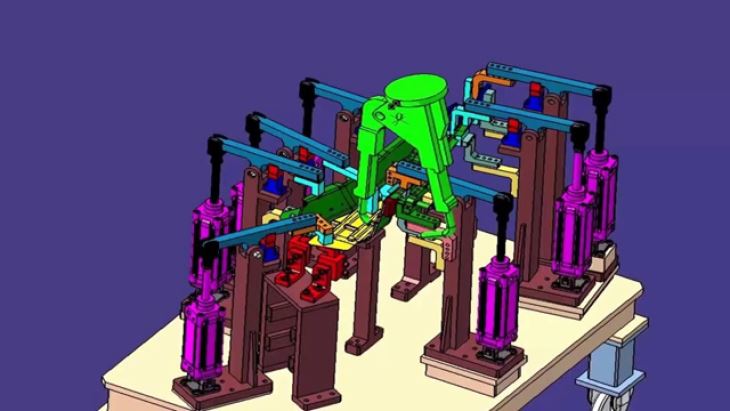
Auto Pillar Parts Welding Fixture
When dealing with an Auto Pillar Parts Welding Fixture, you need to pay extra attention to the curvature and shape of the pillar parts. These parts often have complex geometries, so the clamps and alignment tools need to be adjusted accordingly. Make sure the fixture can hold the pillar parts firmly without causing any deformation.
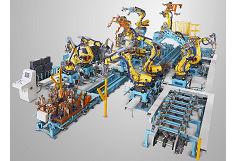
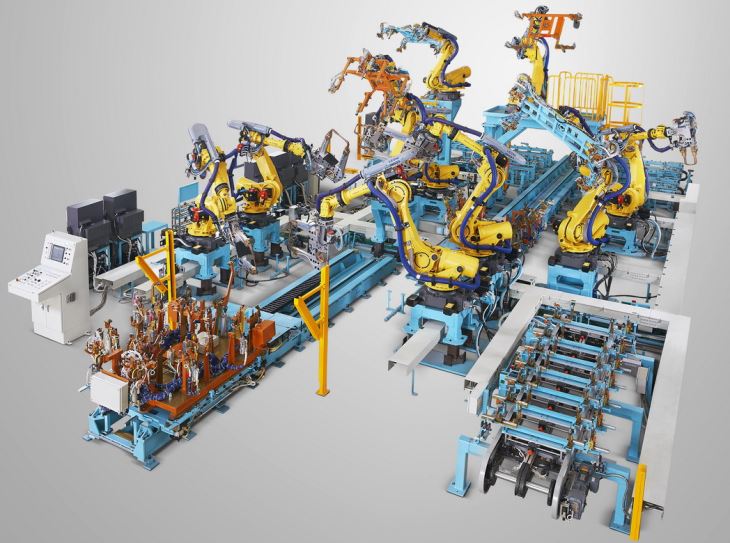
Robotic Welding Fixture Line
If you're using a Robotic Welding Fixture Line, the adjustment process is a bit different. You need to ensure that the robotic arm can access all the welding points easily. The fixture should be designed in such a way that it doesn't interfere with the movement of the robot. Also, you need to calibrate the robotic system to work in sync with the fixture.
Wrapping Up
Adjusting an auto welding jig is a skill that takes time and practice to master. By following these steps and paying attention to the details, you can ensure that your welding jigs are adjusted correctly, resulting in high - quality welds.
If you're in the market for a new auto welding jig or need some advice on adjusting your existing one, don't hesitate to reach out. We're here to help you make the most of your welding operations. Whether you're a small - scale workshop or a large - scale automotive manufacturer, we've got the right solutions for you. Start a conversation with us, and let's work together to take your welding projects to the next level.
References
- Welding Handbook, American Welding Society
- Automotive Manufacturing Technology, Society of Automotive Engineers