Hey there! I'm a supplier of A PILLAR welding fixtures, and today I wanna share some tips on how to adjust an A PILLAR welding fixture. It's super important to get this right, as a well - adjusted fixture can ensure high - quality welding and save you a ton of headaches down the line.
First off, let's talk about why adjustment is necessary. Over time, due to regular use, wear and tear can occur on the fixture. Also, if you're switching to different models of A Pillars or making some design changes, adjustment becomes a must.
Initial Inspection
Before you start making any adjustments, you gotta do a thorough inspection. Check for any visible damage like cracks, dents, or loose parts. Look at the clamping mechanisms. Are they tight enough? Loose clamps can cause misalignment during welding, which is a big no - no. You should also examine the locating pins. These are crucial for positioning the A Pillar correctly. If they're worn out or bent, it'll affect the accuracy of the whole welding process.
Alignment
Alignment is key when it comes to adjusting an A PILLAR welding fixture. You need to make sure that all the components are in the right position relative to each other. One way to do this is by using precision measuring tools like calipers and micrometers. Measure the distances between different parts of the fixture and compare them to the specifications. If there are any discrepancies, you'll need to make adjustments.
For example, if the A Pillar is supposed to be welded at a specific angle, use a protractor to check the angle of the fixture. If it's off, you can use shims or adjust the mounting bolts to correct it. Shims are thin pieces of material that you can insert between parts to change their position slightly. They're really handy for fine - tuning the alignment.
Clamping Force
The clamping force of the fixture is another important factor. If the clamping force is too weak, the A Pillar might move during welding, leading to poor weld quality. On the other hand, if it's too strong, it could damage the A Pillar. You need to find the right balance.
Most modern A PILLAR welding fixtures come with adjustable clamps. You can usually adjust the clamping force by turning a screw or using a hydraulic or pneumatic system. Start by setting the clamps to a medium force and then test the fixture with a sample A Pillar. Check if the part stays in place during a mock welding operation. If it moves, increase the clamping force slightly. If it seems like the part is being deformed, reduce the force.
Welding Torch Position
The position of the welding torch is also crucial for a successful weld. You need to make sure that the torch is aligned with the welding joint on the A Pillar. This can be a bit tricky, as you need to consider the angle, distance, and height of the torch.
Use a welding torch positioning system if your fixture has one. These systems allow you to adjust the torch's position accurately. You can also use a test piece to fine - tune the position. Make a few test welds and examine the quality of the welds. If the welds are too wide or too narrow, adjust the torch's distance from the A Pillar. If the penetration is not deep enough, adjust the angle of the torch.
Calibration
Calibration is an ongoing process when it comes to A PILLAR welding fixtures. You should calibrate the fixture regularly, especially after any major adjustments or if it's been sitting idle for a long time.
To calibrate the fixture, you can use a calibration block. This is a specially designed block that has the same dimensions and features as the A Pillar. Place the calibration block in the fixture and check if all the components are aligned correctly. Use the measuring tools to verify the dimensions and angles. Make any necessary adjustments based on the calibration results.
Upgrading and Maintenance
As a supplier, I always recommend upgrading your A PILLAR welding fixture when possible. Newer models often come with better features like improved clamping mechanisms, more accurate alignment systems, and easier adjustment options.
Regular maintenance is also essential. Clean the fixture after each use to remove any welding spatter or debris. Lubricate the moving parts to prevent them from seizing up. Check the electrical and hydraulic connections regularly to make sure they're in good condition.
Related Products
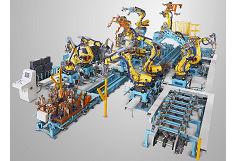
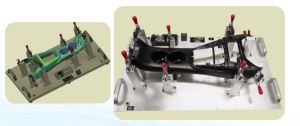
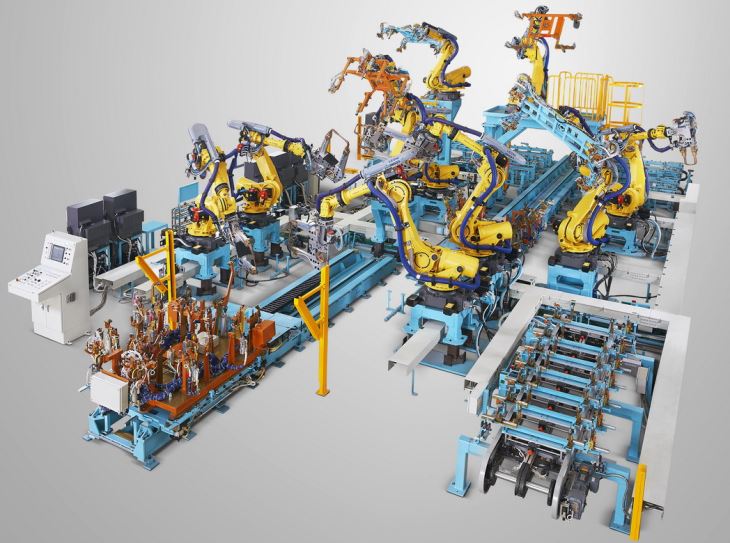
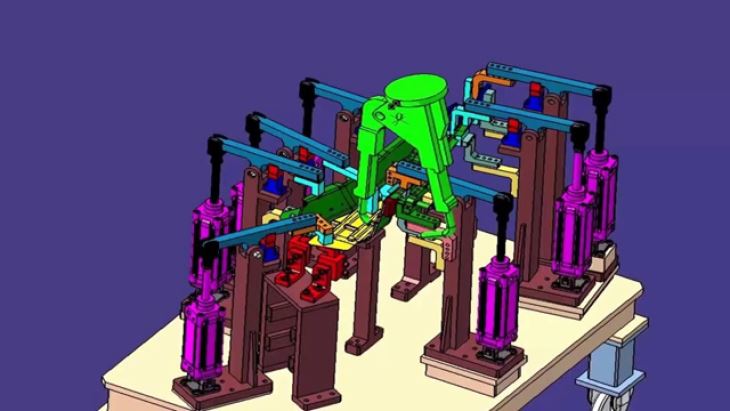
If you're interested in other types of welding fixtures, you might want to check out our Auto Pillar Parts Welding Fixture and Robotic Welding Fixture Line. These products are designed to meet the high - quality standards of the automotive industry and can work in tandem with your A PILLAR welding fixture.
Conclusion
Adjusting an A PILLAR welding fixture is a detailed process that requires patience and precision. By following the steps I've outlined above, you can ensure that your fixture is in top - notch condition and that you're getting the best possible weld quality.
If you're in the market for an A PILLAR welding fixture or need some advice on adjusting your existing one, don't hesitate to get in touch. We're here to help you with all your welding fixture needs. Whether you're a small - scale workshop or a large - scale automotive manufacturer, we've got the expertise and the products to meet your requirements.
References
- Automotive Welding Handbook
- Precision Fixture Design and Manufacturing Guide