Hey there! As a supplier of Auto Welding Jigs, I've seen my fair share of electrical problems in these jigs. It can be a real headache when things go wrong, but don't worry – I'm here to share some tips on how to troubleshoot those pesky electrical issues.
First off, let's talk about some common electrical problems you might encounter in an auto welding jig. One of the most frequent issues is a blown fuse. Fuses are there to protect the electrical circuit from overloading. If you notice that a particular part of the jig isn't working, like a solenoid or a motor, a blown fuse could be the culprit. You can easily check the fuse by using a multimeter. Just set the multimeter to the continuity setting and touch the probes to the two ends of the fuse. If the multimeter beeps, the fuse is good. If not, it's blown and needs to be replaced. Make sure to use the correct amperage fuse; otherwise, you could cause more serious problems.
Another common problem is loose connections. Over time, vibrations from the welding process can cause wires to come loose. This can lead to intermittent power issues or even complete failure of a component. To check for loose connections, you'll need to visually inspect the wiring harnesses. Look for any wires that are hanging loose or not properly seated in their connectors. You can also gently tug on the wires to see if they move too easily. If you find a loose connection, simply re - seat the wire or tighten the connector.
Now, let's say you've got a problem with a sensor in the auto welding jig. Sensors are crucial for proper operation, as they provide feedback to the control system. For example, proximity sensors are used to detect the presence of a workpiece. If a sensor isn't working correctly, the jig might not function as expected. To troubleshoot a sensor, start by checking its power supply. Use a multimeter to measure the voltage at the sensor's power terminals. If there's no power, check the wiring and any associated fuses. If the sensor has power but still isn't working, it could be damaged. Try replacing the sensor with a known - good one to see if that solves the problem.
Sometimes, the issue might be with the control panel of the auto welding jig. The control panel is like the brain of the jig, and if it's not functioning properly, the whole system can go haywire. If you're experiencing problems like incorrect programming or unresponsive buttons on the control panel, first check the power supply to the panel. Make sure all the cables are securely connected. If the power is okay, try resetting the control panel. This can often clear up minor glitches. In some cases, you might need to update the software on the control panel. Check the manufacturer's website for the latest software updates and follow the instructions carefully.
When it comes to more complex electrical problems, like issues with the motor drive system, it can be a bit more challenging. Motor drives are responsible for controlling the speed and torque of the motors in the jig. If a motor isn't running smoothly or is making strange noises, there could be a problem with the drive. First, check the input power to the drive. Make sure it's getting the correct voltage and frequency. Then, check the output of the drive to the motor. Use a multimeter to measure the voltage and current at the motor terminals. If the readings are abnormal, the drive might be faulty. At this point, it's a good idea to consult the drive's manual or contact the manufacturer for further troubleshooting steps.
It's also important to keep in mind that proper maintenance can prevent many electrical problems in the first place. Regularly clean the electrical components to prevent dust and debris from building up, which can cause short - circuits. Lubricate any moving parts in the electrical system, like relays, to ensure smooth operation. And always follow the manufacturer's recommended maintenance schedule.
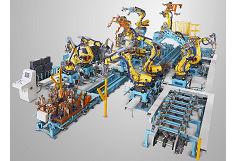
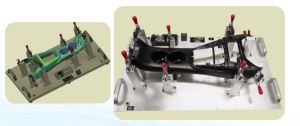
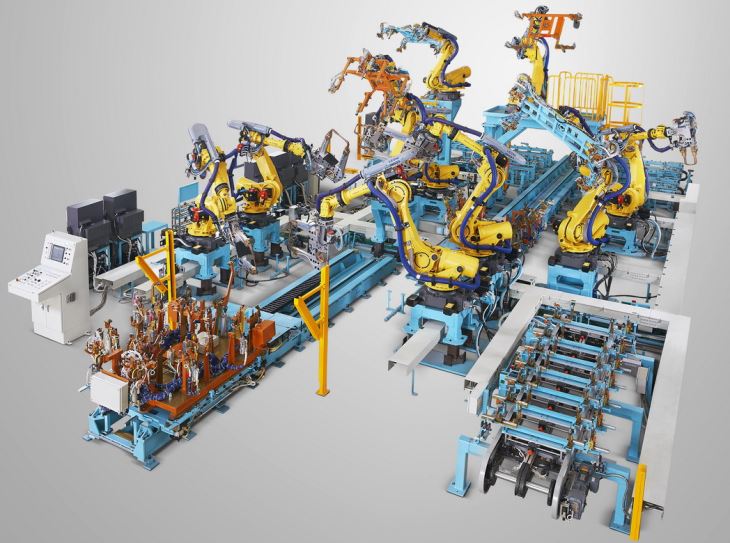
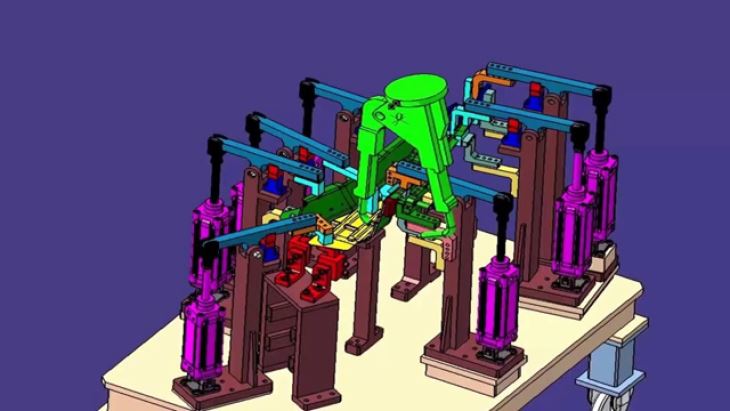
If you're looking to learn more about different types of auto welding jigs, you can check out our Robotic Welding Fixture Line and Auto Pillar Parts Welding Fixture. These pages have detailed information about our products and can give you a better understanding of how they work.
In conclusion, troubleshooting electrical problems in an auto welding jig requires a systematic approach. Start by checking the basics like fuses and connections, and then move on to more complex components like sensors and control panels. If you're ever in doubt, don't hesitate to reach out for help. Whether you're a small - scale welding shop or a large automotive manufacturing plant, having a properly functioning auto welding jig is essential for efficient production.
If you're interested in purchasing high - quality auto welding jigs or need further assistance with troubleshooting, feel free to get in touch. We're always here to help you keep your welding operations running smoothly.
References
- Automotive Welding Jig Handbook
- Electrical Troubleshooting Guide for Industrial Equipment