Maintaining the cleanliness of an A Pillar welding fixture is crucial for ensuring high - quality welding results and the longevity of the equipment. As a trusted A Pillar welding fixture supplier, I understand the significance of proper cleaning procedures. In this blog, I'll share comprehensive steps on how to clean an A Pillar welding fixture effectively.
Understanding the A Pillar Welding Fixture
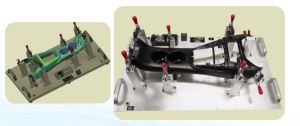
Before diving into the cleaning process, it's essential to have a basic understanding of what an A Pillar welding fixture is. The A Pillar is the structural support on either side of the windshield in a vehicle. The welding fixture is a specialized tool that holds the A Pillar components in place during the welding process, ensuring precise alignment and a strong weld.
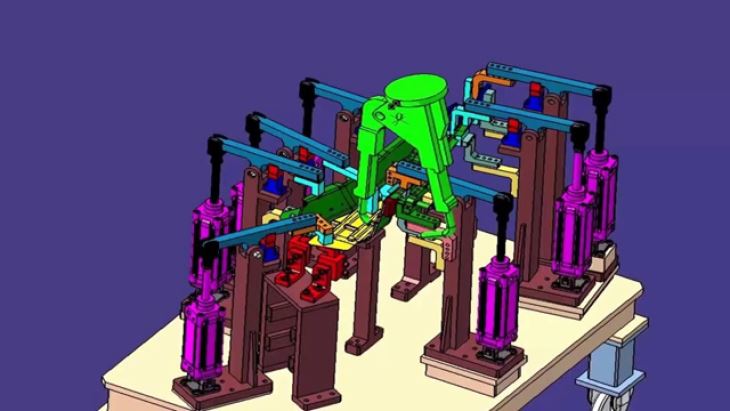
These fixtures are often complex, with multiple clamps, locators, and other components that can trap dirt, welding spatter, and other debris. If not cleaned regularly, this build - up can affect the accuracy of the fixture and lead to welding defects. You can find more information about Auto Pillar Parts Welding Fixture on our website Auto Pillar Parts Welding Fixture.
Pre - cleaning Preparations
- Safety First
- Wear appropriate personal protective equipment (PPE), including safety glasses, gloves, and a dust mask. Welding spatter and debris can be sharp and may contain harmful substances.
- Ensure that the welding fixture is disconnected from any power sources. This prevents any accidental activation during the cleaning process.
- Inspect the Fixture
- Conduct a visual inspection of the A Pillar welding fixture. Look for any signs of damage, such as bent clamps, loose bolts, or worn - out locators. Note down these issues as they may need to be addressed during or after the cleaning process.
- Identify the areas with the most significant build - up of dirt and spatter. This will help you focus your cleaning efforts.
Cleaning the A Pillar Welding Fixture
- Remove Loose Debris
- Use a brush, preferably a wire brush, to remove loose dirt, dust, and welding spatter from the surface of the fixture. Start from the top and work your way down, brushing the debris into a tray or container for easy disposal.
- Pay special attention to the corners, edges, and crevices of the fixture, as these areas tend to accumulate the most debris.
- Clean the Clamps and Locators
- Clamps and locators are critical components of the A Pillar welding fixture. Use a degreaser or a cleaning solution specifically designed for metal surfaces to clean these parts.
- Apply the degreaser to a clean cloth or a brush and gently scrub the clamps and locators. Make sure to clean both the inner and outer surfaces.
- After scrubbing, rinse the clamps and locators with clean water to remove any remaining degreaser. Dry them thoroughly with a clean cloth to prevent rusting.
- Clean the Base and Frame
- The base and frame of the A Pillar welding fixture may have a significant amount of dirt and grime. Use a pressure washer or a high - pressure hose to clean these areas if possible. However, make sure that the fixture can withstand the pressure without being damaged.
- If a pressure washer is not available, you can use a scrub brush and a cleaning solution to clean the base and frame manually.
- Rinse the base and frame with clean water and dry them completely.
- Clean the Welding Contacts
- Welding contacts are essential for a proper electrical connection during the welding process. Use a contact cleaner or a fine - grit sandpaper to clean the welding contacts.
- Gently rub the sandpaper or apply the contact cleaner to the contacts to remove any oxidation or dirt. Be careful not to damage the contacts while cleaning.
- After cleaning, inspect the contacts for any signs of wear or damage. If necessary, replace the contacts to ensure optimal welding performance.
Post - cleaning Procedures
- Lubrication
- Once the A Pillar welding fixture is clean and dry, lubricate the moving parts, such as the clamps and hinges. Use a high - quality lubricant recommended for metal components.
- Apply a small amount of lubricant to the moving parts and operate them a few times to distribute the lubricant evenly.
- Re - inspection
- Conduct a second inspection of the fixture after cleaning and lubrication. Check that all the components are clean, dry, and in good working condition.
- Tighten any loose bolts or screws that were identified during the pre - cleaning inspection.
- Documentation
- Keep a record of the cleaning process, including the date, the cleaning methods used, and any issues that were addressed. This documentation can be useful for future maintenance and quality control purposes.
Frequency of Cleaning
The frequency of cleaning an A Pillar welding fixture depends on several factors, such as the volume of welding operations, the type of materials being welded, and the environment in which the fixture is used. In general, it is recommended to clean the fixture after every 100 - 200 welding cycles or at least once a week for high - volume production.
Troubleshooting Common Cleaning Problems
- Stubborn Spatter Removal
- If some welding spatter is particularly stubborn and cannot be removed with a brush or a degreaser, you can use a chisel or a grinder with a fine - grit wheel. However, be extremely careful when using these tools to avoid damaging the fixture.
- Rust Prevention
- To prevent rusting, especially in areas where the fixture is exposed to moisture, you can apply a rust - inhibiting coating after cleaning. Make sure the fixture is completely dry before applying the coating.
Conclusion
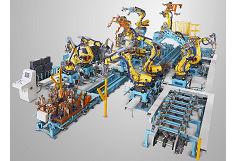
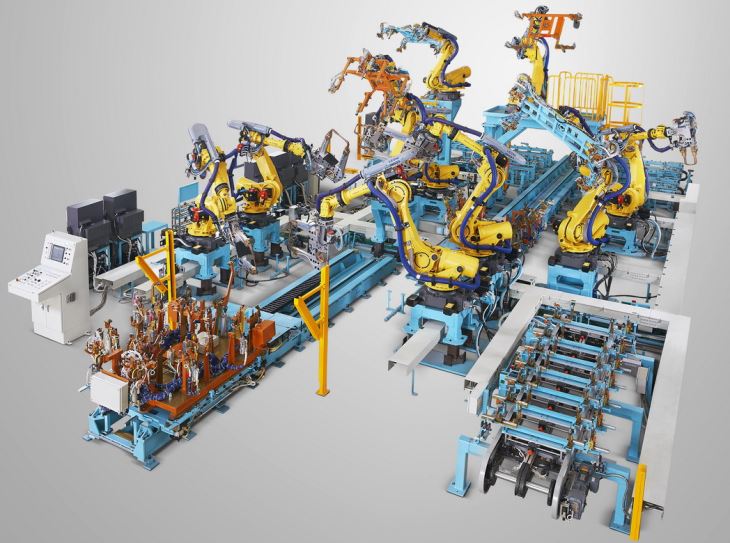
Properly cleaning an A Pillar welding fixture is a vital part of its maintenance. By following the steps outlined in this blog, you can ensure that your fixture remains in good working condition, providing accurate alignment and high - quality welds. As an A Pillar welding fixture supplier, we are committed to providing not only high - quality fixtures but also the knowledge and support to help you maintain them. If you are interested in our products or need further advice on welding fixture maintenance, please feel free to reach out for a procurement discussion. You can also explore our Robotic Welding Fixture Line for more advanced welding solutions.
References
- Welding Fixture Maintenance Handbook, Industry Standard Publications
- Metal Cleaning and Maintenance Guidelines, American Welding Society