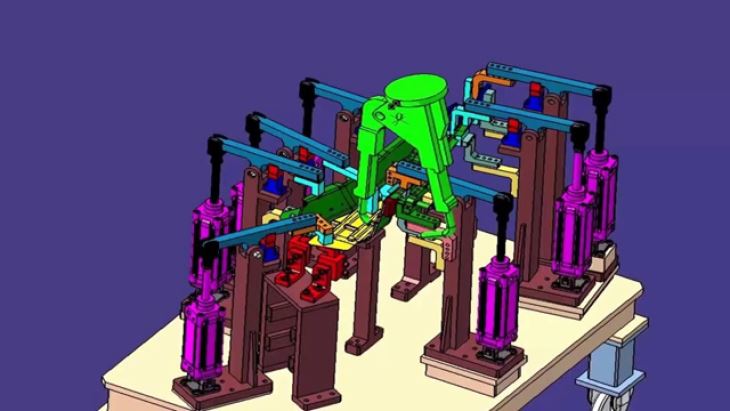
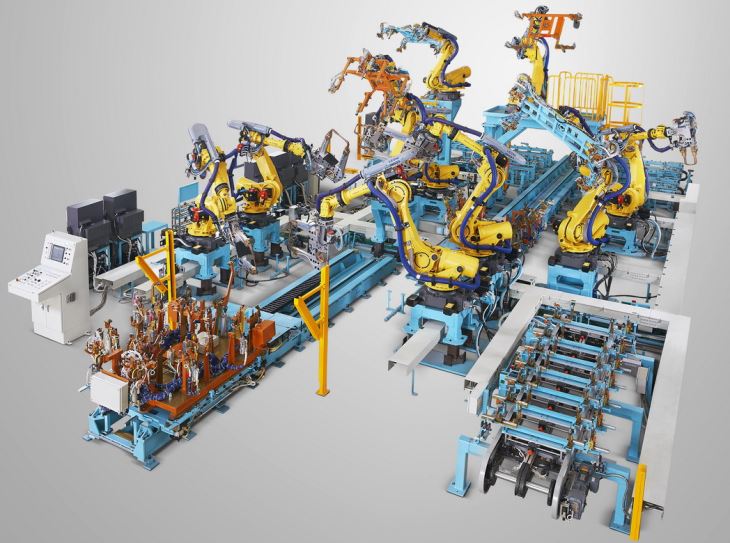
As a supplier of Auto Welding Jig in China, I understand the significance of ensuring the quality of our products when they reach our customers. The arrival of auto welding jigs is a crucial moment, as it determines whether the investment made by the customer will yield the expected results in terms of precision, durability, and overall performance. In this blog, I will share some practical steps on how to check the quality of Chinese Auto Welding Jigs upon arrival.
1. Visual Inspection
The first step in checking the quality of an auto welding jig is a thorough visual inspection. This should be done as soon as the jig arrives at the customer's facility.
Packaging Condition
Examine the packaging for any signs of damage during transit. A damaged package could potentially indicate that the jig inside has also been affected. Look for tears, dents, or other visible signs of impact on the packaging materials. If the packaging is severely damaged, it is advisable to document the condition with photos and inform the shipping company and the supplier immediately.
Physical Appearance of the Jig
Once the jig is unpacked, inspect its physical appearance. Check for any visible defects such as scratches, dents, or cracks on the surface of the jig. These defects could affect the accuracy of the welding process and the overall quality of the finished product. Pay special attention to critical areas such as the clamping surfaces, locating pins, and guiding rails. Any irregularities in these areas could lead to misalignment during welding, resulting in poor-quality welds.


Surface Finish
The surface finish of the auto welding jig is also an important factor to consider. A smooth and even surface finish indicates that the jig has been manufactured with high precision. Rough or uneven surfaces could cause friction and wear during the welding process, leading to premature failure of the jig. Check for any signs of rust, corrosion, or other surface contaminants that could affect the performance of the jig.
2. Dimensional Inspection
Accurate dimensions are crucial for the proper functioning of an auto welding jig. Therefore, a detailed dimensional inspection is necessary to ensure that the jig meets the specified requirements.
Use of Measuring Tools
Utilize appropriate measuring tools such as calipers, micrometers, and coordinate measuring machines (CMM) to measure the key dimensions of the jig. Compare the measured values with the design specifications provided by the supplier. Any significant deviations from the specified dimensions could indicate a manufacturing defect or a problem with the transportation process.
Tolerance Checks
In addition to checking the actual dimensions, it is also important to verify that the jig meets the specified tolerance requirements. Tolerances define the acceptable range of variation for each dimension. Ensure that all dimensions are within the specified tolerance limits. If the measured values fall outside the tolerance range, it is necessary to investigate the cause and determine whether the jig can still be used or if it needs to be repaired or replaced.
Geometric Tolerance Inspection
Geometric tolerances such as flatness, straightness, perpendicularity, and parallelism are also critical for the proper alignment and functioning of the auto welding jig. Use appropriate measuring techniques and tools to check these geometric tolerances. Any deviations from the specified geometric tolerances could affect the accuracy of the welding process and the quality of the finished product.
3. Functional Inspection
The functional inspection of an auto welding jig involves testing its performance under actual operating conditions. This step is essential to ensure that the jig can perform its intended function effectively and efficiently.
Clamping and Locating Function
Test the clamping and locating function of the jig to ensure that it can securely hold the workpiece in place during the welding process. Check the clamping force and the accuracy of the locating pins. The workpiece should be firmly held without any movement or displacement during welding. If the clamping or locating function is not working properly, it could lead to misalignment and poor-quality welds.
Welding Accessibility
Verify that the jig provides easy access to the welding areas. The design of the jig should allow the welding torch to reach all the necessary welding points without any interference. Check for any obstructions or limitations that could prevent the welding process from being carried out smoothly. If the welding accessibility is poor, it could result in incomplete welds or uneven weld quality.
Compatibility with Welding Equipment
Ensure that the auto welding jig is compatible with the welding equipment used in the customer's facility. Check the electrical connections, gas supply lines, and other interfaces to ensure that they are properly matched. Incompatible equipment could cause problems such as electrical shorts, gas leaks, or improper welding parameters, which could affect the quality of the welds and the safety of the operators.
4. Operational Testing
Once the visual, dimensional, and functional inspections are completed, it is recommended to conduct operational testing of the auto welding jig. This involves using the jig in a real-world welding environment to evaluate its performance under actual working conditions.
Welding Trials
Perform a series of welding trials using the auto welding jig and the actual workpiece. Monitor the welding process closely and observe the quality of the welds. Check for any signs of porosity, cracks, or other welding defects. Evaluate the consistency and repeatability of the welds. If any problems are detected during the welding trials, analyze the root cause and take appropriate corrective actions.
Cycle Time and Productivity
Measure the cycle time of the welding process using the auto welding jig. The cycle time is the time required to complete one welding operation. A shorter cycle time indicates higher productivity. Compare the measured cycle time with the expected values provided by the supplier. If the cycle time is significantly longer than expected, it could indicate a problem with the design or performance of the jig.
Operator Feedback
Collect feedback from the operators who are using the auto welding jig. They can provide valuable insights into the ease of use, ergonomics, and overall performance of the jig. Pay attention to any complaints or suggestions from the operators and take them into consideration when evaluating the quality of the jig.
5. Documentation Review
Review the documentation provided by the supplier, including the design drawings, inspection reports, and test certificates. The documentation should provide detailed information about the manufacturing process, materials used, and quality control measures taken during the production of the auto welding jig. Ensure that the documentation is complete and accurate and that it matches the actual product.
Design Drawings
Check the design drawings to ensure that the jig has been manufactured according to the specified design. Verify that all the dimensions, tolerances, and features are correctly represented in the drawings. Any discrepancies between the design drawings and the actual product should be addressed with the supplier.
Inspection Reports
Review the inspection reports provided by the supplier to confirm that the jig has undergone a comprehensive quality inspection before shipment. The inspection reports should include details about the inspection methods used, the measured values, and the results of the inspection. Ensure that the inspection reports are signed and stamped by the authorized personnel.
Test Certificates
If applicable, review the test certificates for the materials used in the manufacturing of the auto welding jig. Test certificates provide information about the mechanical properties, chemical composition, and other relevant characteristics of the materials. Ensure that the materials used meet the specified requirements and that the test certificates are valid and up-to-date.
6. Comparison with Previous Jigs (if applicable)
If the customer has previously used auto welding jigs from the same or other suppliers, compare the new jig with the previous ones. This can provide valuable insights into the quality and performance of the new jig. Look for any improvements or differences in terms of design, functionality, and durability. If the new jig performs better than the previous ones, it is a good indication of its quality.
7. Communication with the Supplier
Throughout the quality inspection process, maintain open communication with the supplier. If any problems or concerns are detected, inform the supplier immediately and provide them with detailed information about the issues. The supplier should be willing to work with the customer to resolve the problems and ensure that the auto welding jig meets the required quality standards.
Conclusion
Checking the quality of Chinese Auto Welding Jigs upon arrival is a critical step to ensure that the investment made by the customer yields the expected results. By following the steps outlined in this blog, customers can effectively evaluate the quality of the auto welding jigs and take appropriate actions to address any issues. As a supplier of Auto Welding Jig in China, we are committed to providing high-quality products and excellent customer service. If you have any questions or need further assistance with the quality inspection of our auto welding jigs, please feel free to [initiate a conversation to discuss your procurement needs]. We are here to help you make the right decision and ensure the success of your welding operations.
If you are interested in our Robotic Welding Fixture Line or Auto Pillar Parts Welding Fixture, please don't hesitate to contact us for more information and to start a procurement discussion.
References
- ASME Y14.5 - Dimensioning and Tolerancing Standard
- ISO 9001 - Quality Management Systems Standard
- AWS D1.1 - Structural Welding Code - Steel


